
The woodwork
The 140 fixed head's wood veneer and leather finished cabin was certainly comparable to the very best 50's cars, regardless of cost, and it was incredible how Jaguar achieved this standard, with a 140 fixed head costing a little over one thousand pounds plus a massive 50% purchase tax.
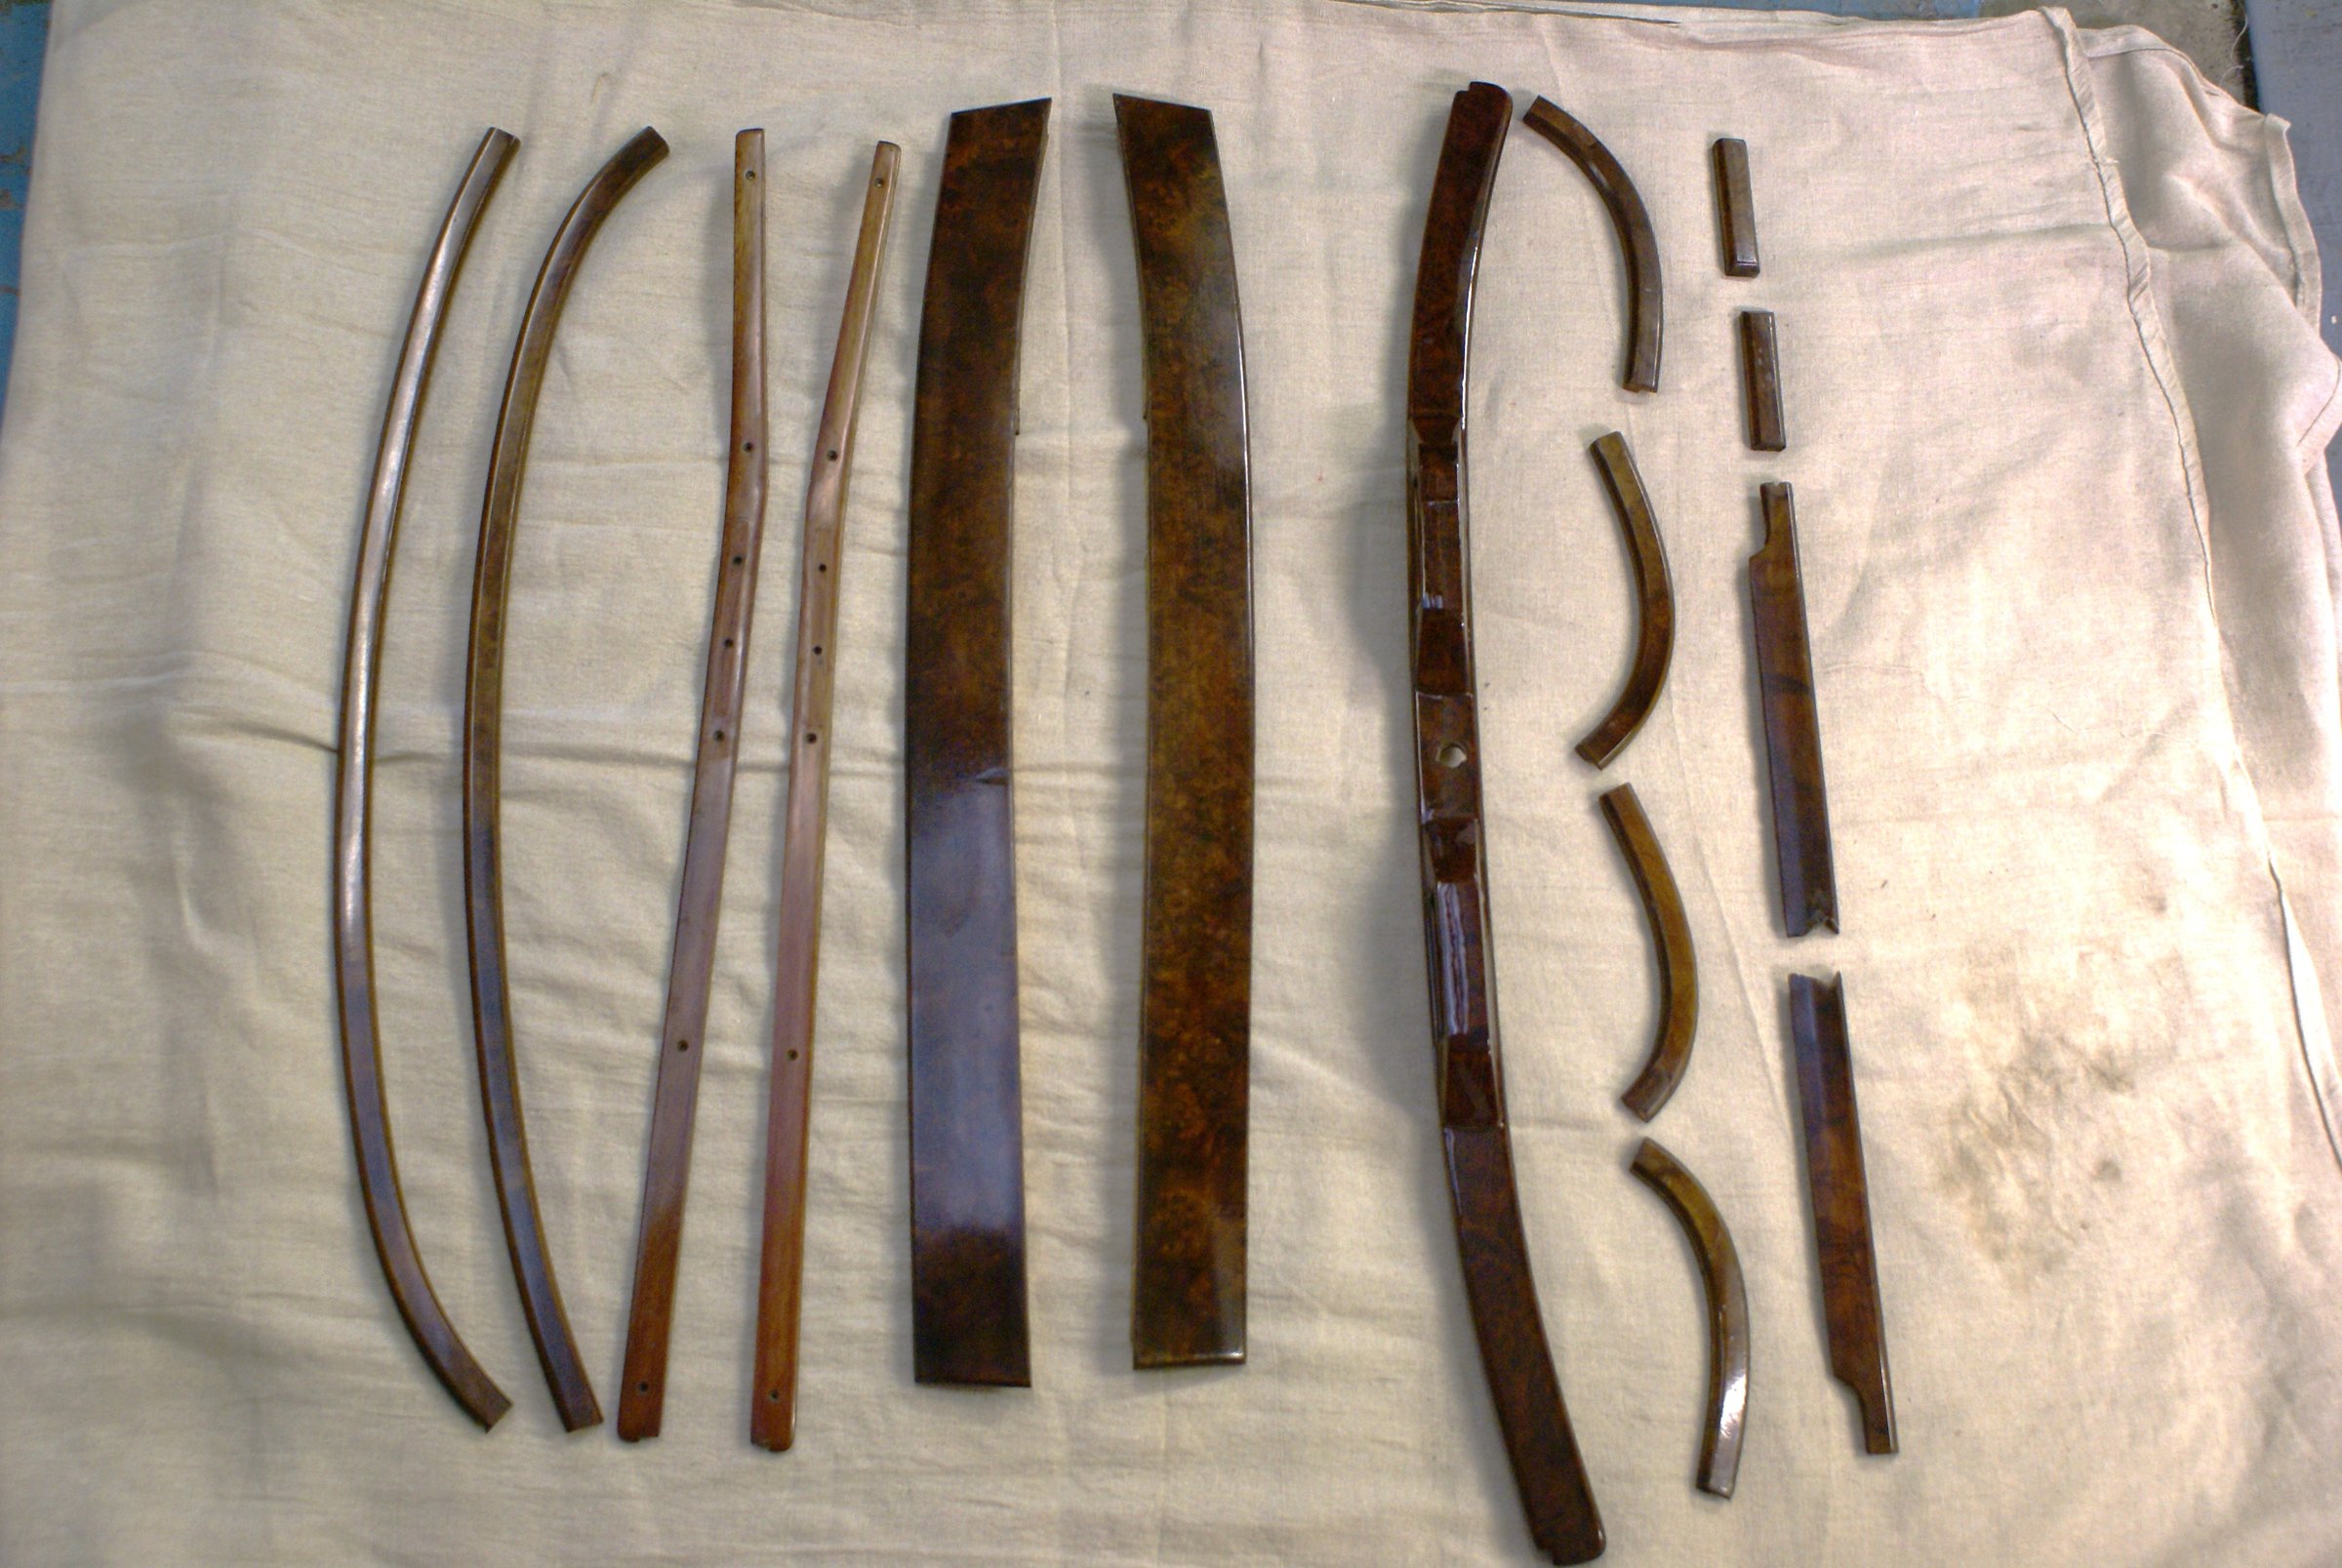
Jaguar had its own veneer facility at Browns Lane, known internally as the sawmill. Dashboards, cappings and rails were produced in sets for individual cars, the veneer chosen by a craftsman to complement the leather and matched outward from the centre. Birch ply was machined to fine tolerance and the veneer pressed around the dashboard's bevelled instrument openings in vacuum blanket presses.
The original polyester lacquer was adequate for a car's expected ten-year life. After sixty years sunlight had turned the lacquer yellow and the veneer orange, and damp had begun to delaminate both veneer and ply.
Every piece was re-veneered and lacquered by Chapman and Cliffe, with the shade of walnut and the level of shine specified.
The trim
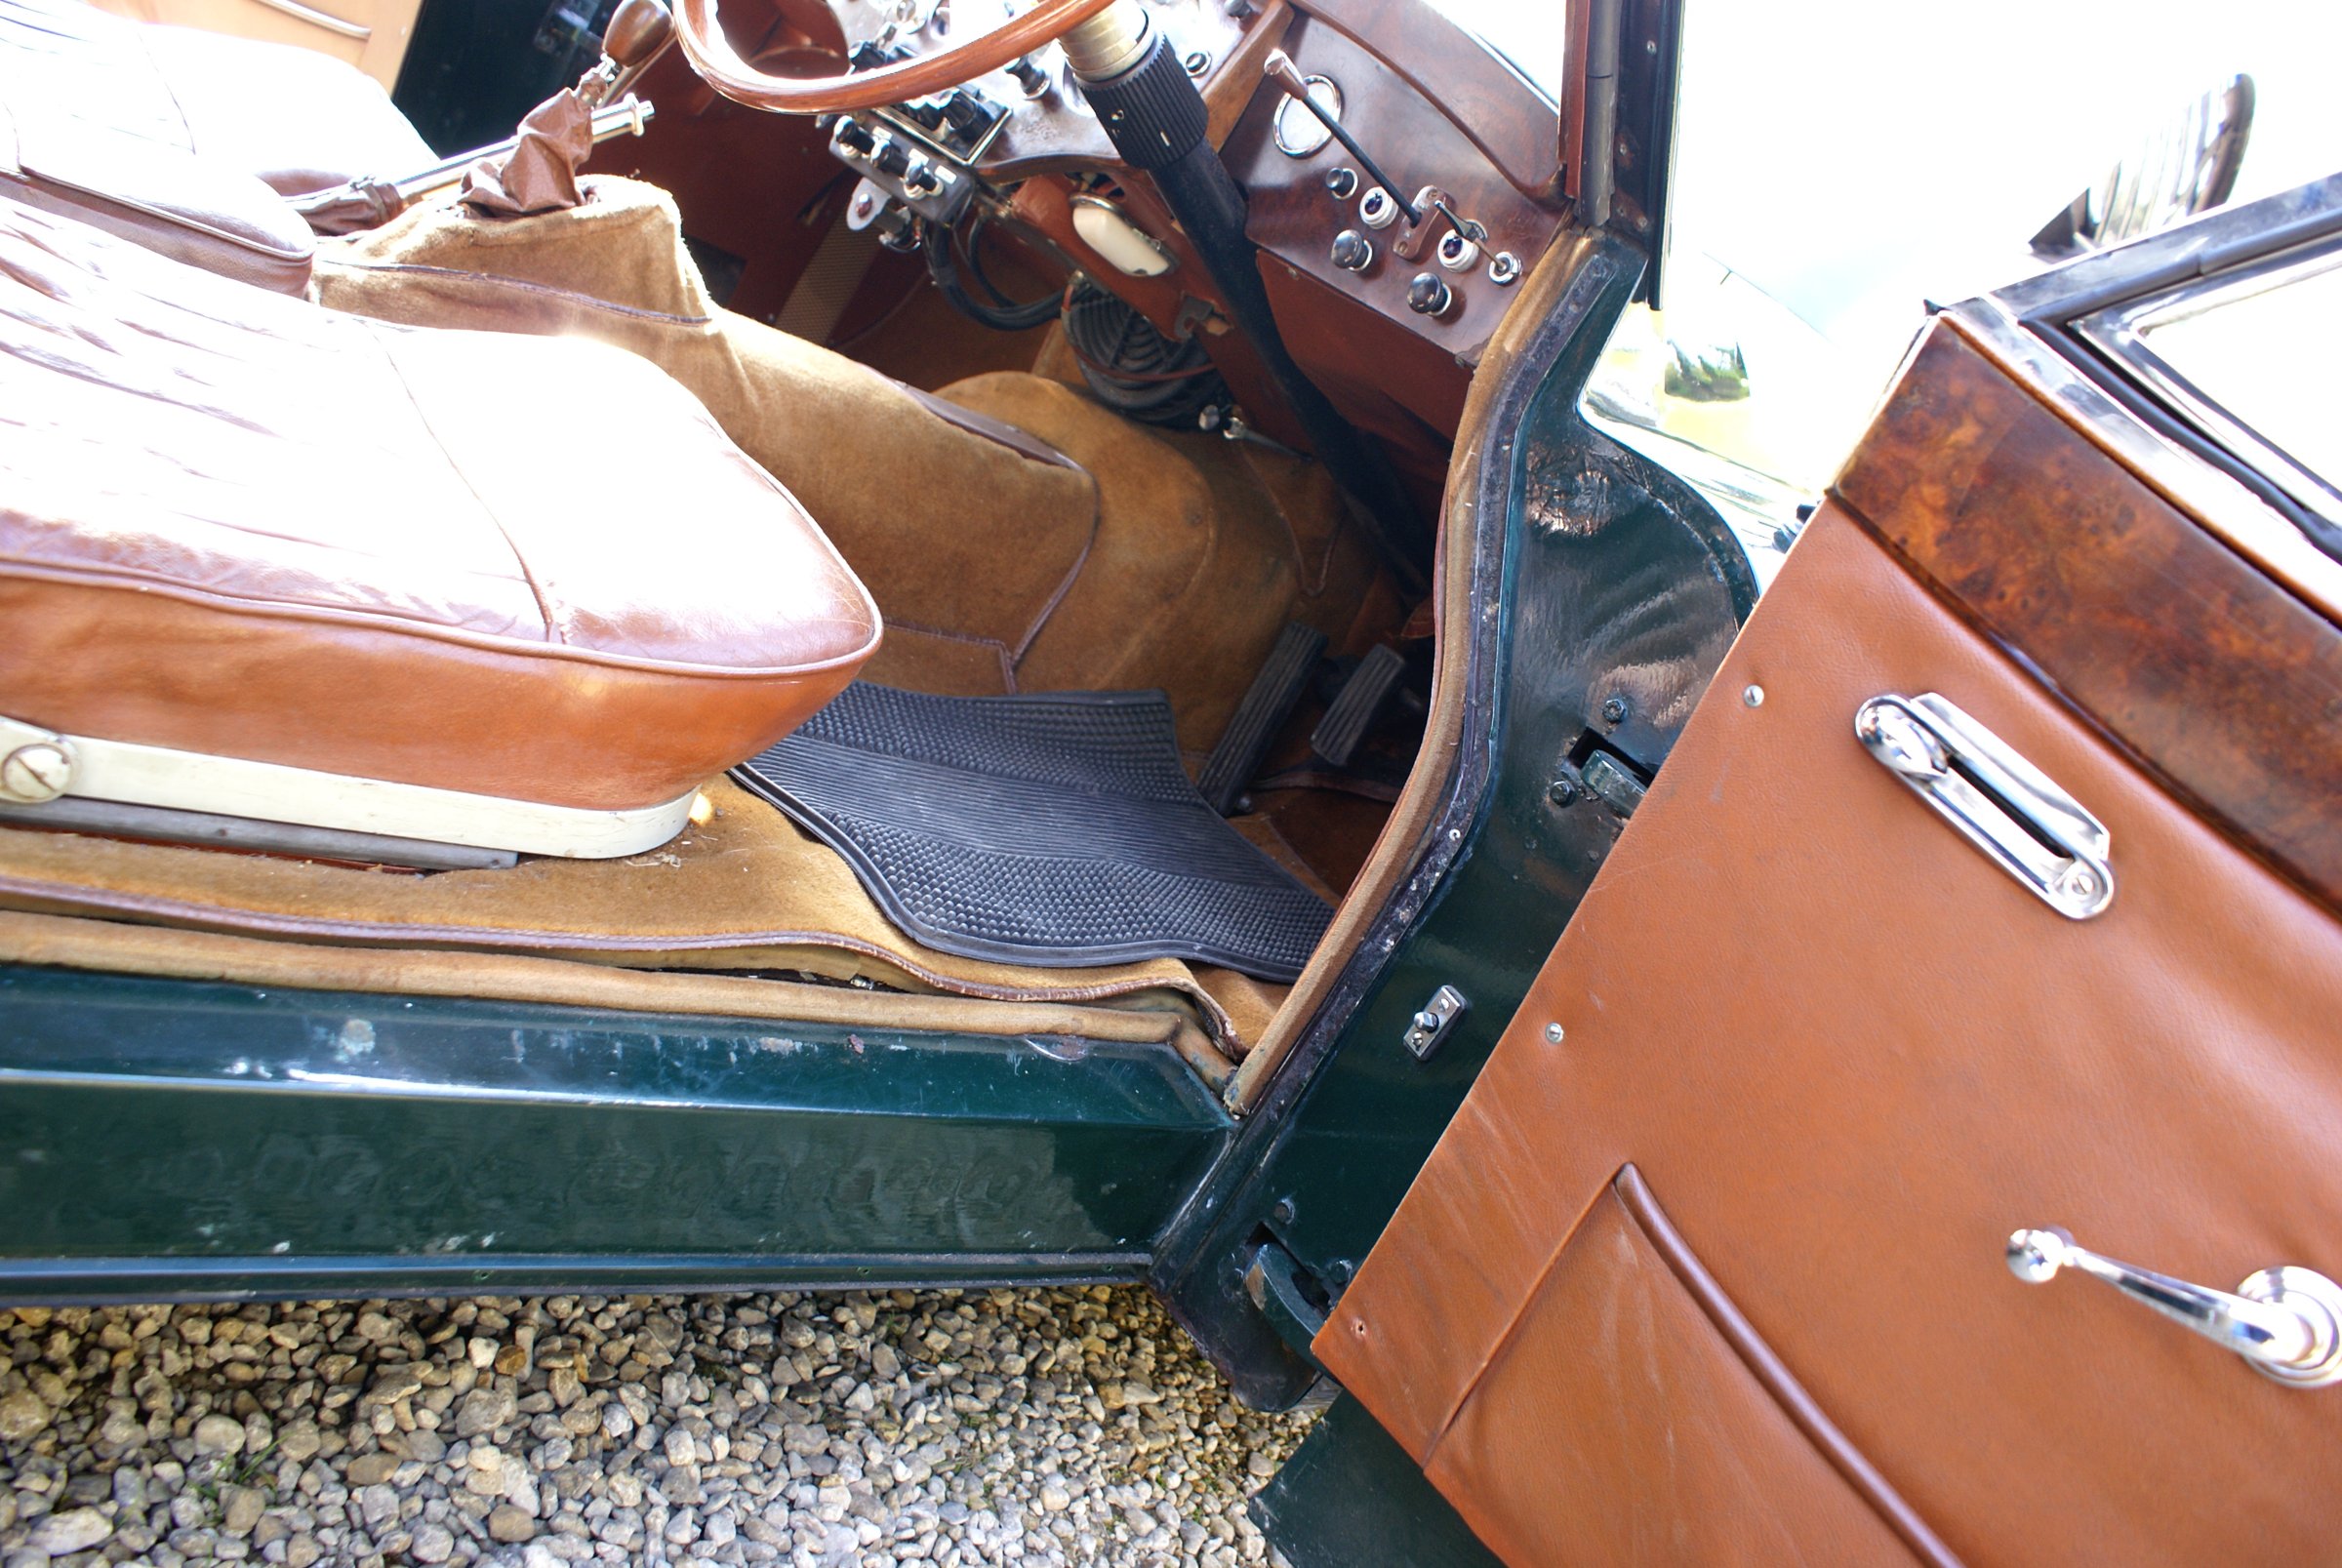
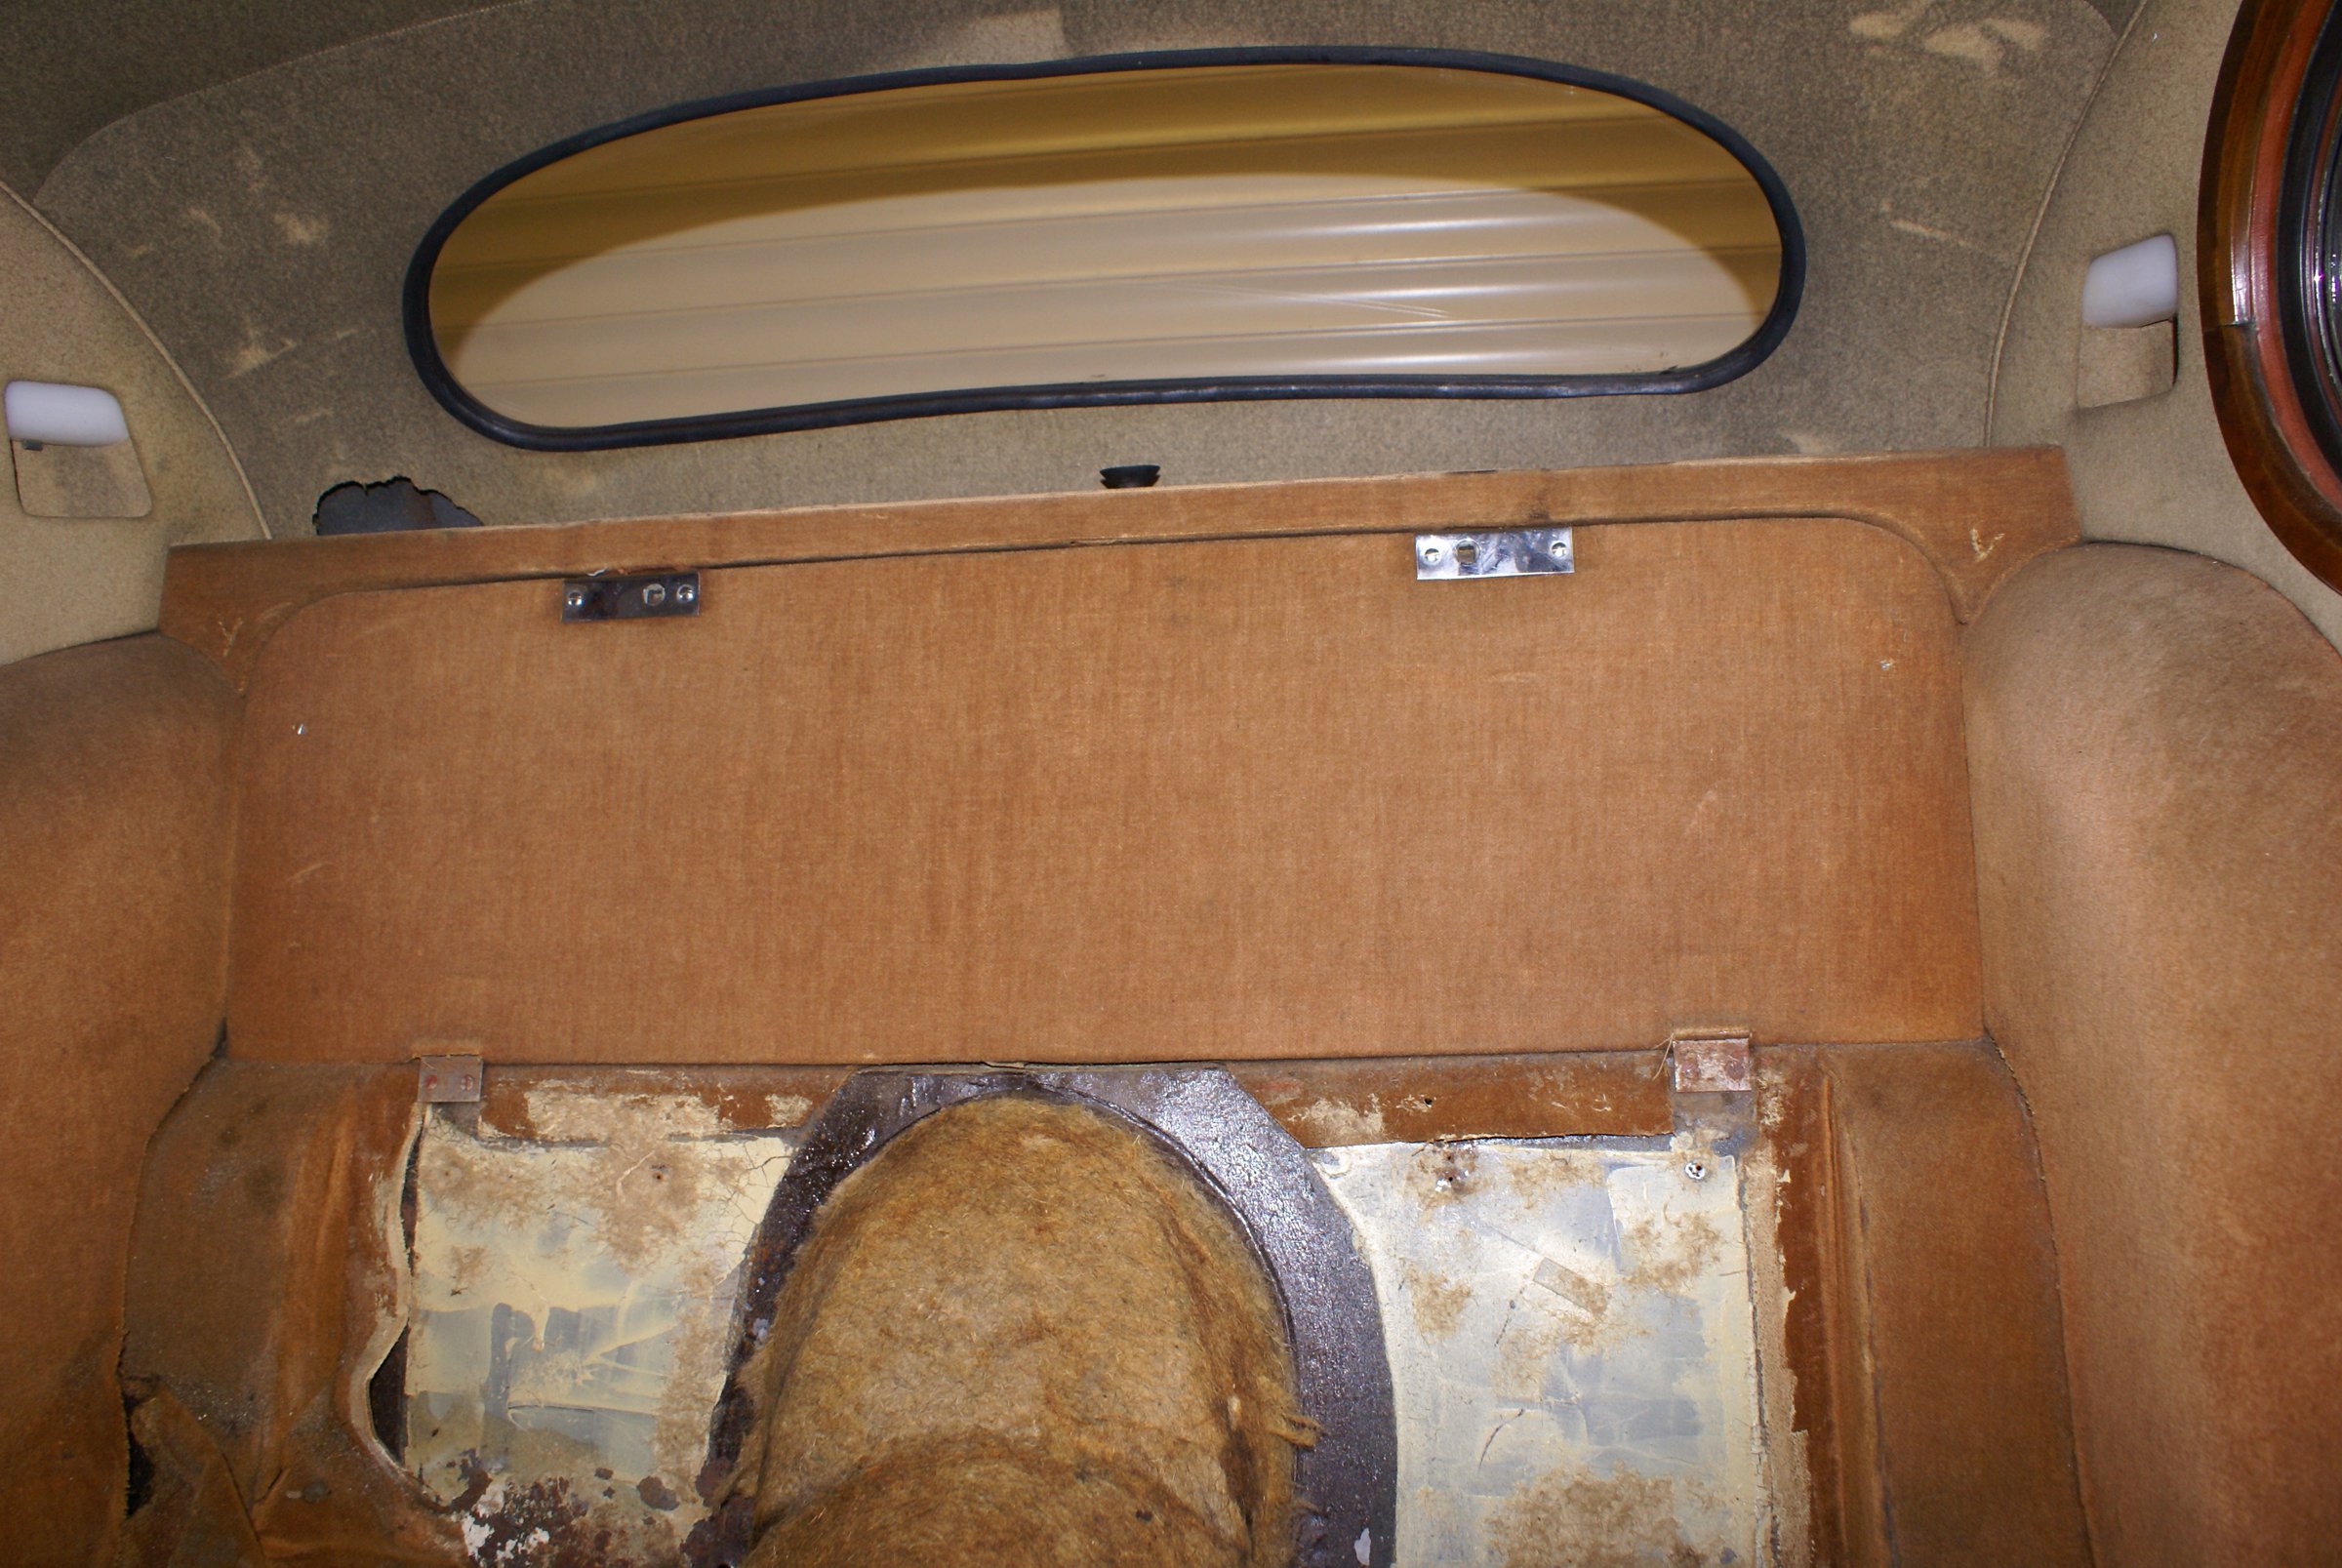
The original trim cleaned up better than expected in places, but the door casings, carpets and several other areas were past saving. The choice was between the original brown and the other factory option, suede green. Suede green won.
A complete kit came from Aldridge Trimming and was fitted by a local trimmer — the third car Bob had entrusted to him.
The trim kit supplied is always pretty close, but it's the nips and tucks along with just the right amount of stuffing to fill out the seats that give it that professional finish, and provide something that is probably better than new.
The cover between the seats over the transmission tunnel was raised to armrest height, with a storage box underneath that slides off the tunnel so the seat can still tilt forward.
Curing the wind noise
1955 was a time when only the most expensive cars paid close attention to wind noise, and by the late sixties whatever remained of the original door seals was in a poor state. Aftermarket seals are made to the wrong dimensions in rubber that is too hard, and the gap between door and body varies along its length anyway.
My solution was to discard them entirely then accurately measure the space they needed to fill — by sticking 'blobs' of Blu-tack at 100mm spacing around the whole door aperture. The door was then closed, re-opened and the Blu-tack (compressed to the gap size) carefully removed and measured.
That gives a precise map of the gap, and shows up the inadequacy of the aftermarket seals at the same time. Four different profiles were then chosen — window frame, A-post face, sill face and B-post — each sized to fill its own gap with a few millimetres of compression, in far more compliant rubber than standard.
After suffering fifteen years of variable levels of wind noise, I finally had a cabin with noise levels almost on par with those of a modern car.
This method also has its own Knowledge page.
While the doors were apart: drain holes at the lowest point, bottoms and seams waxed, a sound-deadening pad on the skin, and new felt in the window channels, which took the winders from almost impossible to as new.
The door pull
The chrome finger pull on the door top capping pulls away over time and damages the wood, often beyond repair. A leather loop pull was added instead, fixed through the outer casing into the inner steel sheet, trimmed at the top with the same chrome capping used on the boot's loop pull — close enough to original to pass.